
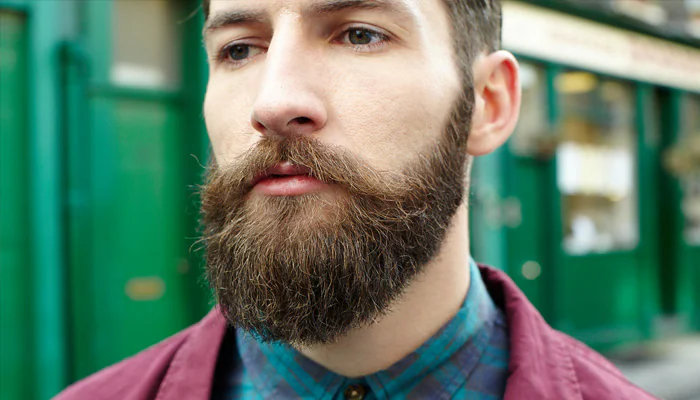
For many, a well-shaped beard is a symbol of style, masculinity, and sophistication. Whether you’re new to the beard gang or a seasoned beard enthusiast, knowing how to shape a beard can transform your look from unruly to polished. The process of shaping a beard might seem daunting at first, but with the right guidance and tools, you can master this art. Let’s embark on a journey through the essential steps for shaping a beard, ensuring that by the end of this post, you’ll be equipped with all the knowledge needed to refine your beard game.
Table of Contents
ToggleUnderstand Your Beard and Desired Shape

Embarking on the journey to shape your beard begins with a crucial step: understanding the natural characteristics of your beard and the shape you aspire to achieve. Every beard is unique, varying in density, texture, and growth patterns, which can greatly influence the final look.
It’s important to take note of how evenly your beard grows or if there are patches and faster-growing areas. This insight will help in choosing a beard style that not only suits the natural growth of your beard but also complements your facial structure.
Assessing your face shape is equally important, whether it’s oval, square, round, or heart. The right beard style can accentuate your best features, bringing balance and symmetry to your appearance. From a rugged full beard to a sleek goatee or a distinguished Van Dyke, the selection of a beard style that aligns with both your beard’s characteristics and face shape is foundational to achieving a look that is both stylish and harmonious.
To ensure a smooth and efficient beard shaping process, proper preparation of your beard is indispensable. Begin by thoroughly cleansing your beard using a specialized beard shampoo, which helps in eliminating any accumulated dirt and oil.
This step is crucial for preventing any irritation during the trimming process. After cleansing, apply a beard conditioner to soften the hairs, making them more manageable and easier to cut. Once conditioning is complete, gently pat your beard dry.
While some may prefer to trim their beard when it’s slightly damp, as the moisture can make the hair easier to cut, it’s important to avoid trimming when the beard is overly wet, as this can lead to uneven lengths.
Arm yourself with essential tools for the task ahead: a reliable trimmer, precision barber scissors, a comb or beard brush for detangling and styling, and a mirror setup that allows you to view your beard from multiple angles. These preparatory steps are not only about ensuring the cleanliness of your beard but also about setting the stage for a precise and controlled trimming experience, tailored to your unique beard style and length preferences.

Begin the trimming process by combing your beard to ensure all hairs are aligned and knot-free. Select a trimmer guard that corresponds with the length you envision for your beard. It’s advisable to err on the side of caution by choosing a longer setting initially, as you can always trim more if needed.
Trim in the direction of hair growth to maintain a consistent length and avoid accidental over-trimming. Regularly use a comb or brush to smooth out the hairs, ensuring an even trim across different sections of your beard. For intricate areas, such as around the mouth or under the nose, transition to using precision barber scissors.
These tools offer greater control for detailing and shaping these sensitive regions. Remember, the goal during this step is not only to reduce length but to sculpt and refine your beard’s overall shape, enhancing its natural contours and your desired style.

Crafting the perfect neckline and cheek lines is essential for a well-shaped beard that flatters your facial structure. To establish a precise neckline, locate a point approximately one to two fingers above your Adam’s apple as your starting mark. From there, visualize or lightly draw a curve that connects from this point behind one ear, around the jaw, and up to the corresponding point behind the other ear.
This technique ensures a natural and appealing neckline that enhances the shape of your beard and jawline. When addressing your cheek lines, the key is to follow or slightly enhance the natural top line of your beard. Whether you opt for a soft curve or a sharper straight line, the objective is to create a boundary that complements your facial features and beard style. Using a trimmer with precision capabilities or no guard, carefully sculpt these areas, exercising caution to remove hair gradually.
This approach allows for adjustments and avoids the common pitfall of overly aggressive trimming. Remember, achieving symmetry and a natural look is paramount when defining these critical aspects of your beard’s shape.
Finishing Touches
Once the main shaping of your beard is complete, the final steps are crucial for maintaining the health of your beard and skin, while ensuring a polished look. Begin by rinsing your face with cool water to help close pores and remove any remaining hair clippings. Next, applying a high-quality beard oil or balm is essential.
These products not only moisturize the skin underneath, preventing dryness and irritation, but they also help in keeping the beard soft and manageable, adding a subtle shine that enhances its appearance. With the application of beard oil or balm, use a comb or brush to evenly distribute the product throughout your beard and style it as desired. This is also the moment to carefully inspect your beard for any asymmetries or stray hairs that might have been overlooked.
If any irregularities are found, make minor adjustments with your scissors or trimmer to achieve that perfect shape. This detailed attention to the finishing touches will ensure your beard looks its best, reflecting the effort and care you’ve invested into crafting your signature style.