
Are you looking to achieve a well-groomed and neat beard look? Using a trimmer is a crucial tool in any man’s grooming routine. In this guide, we will walk you through the step-by-step process of how to use a trimmer effectively to trim your facial hair. Whether you’re a beginner or a seasoned pro, mastering the art of trimming with a trimmer will give you the polished appearance you desire. Let’s dive in and learn how to use a trimmer for the best results.
Table of Contents
TogglePreparing Your Beard and Trimmer
To kick off your beard trimming journey on the right note, you’ll want to ensure both your beard and trimmer are prepped and ready. First up, cleansing your beard is crucial. Use a mild beard shampoo to wash away any dirt, grime, or excess oils. This step ensures a cleaner cut and helps in achieving an even length throughout. After washing, thoroughly dry your beard. Wet hairs can clump together, leading to an uneven trim.
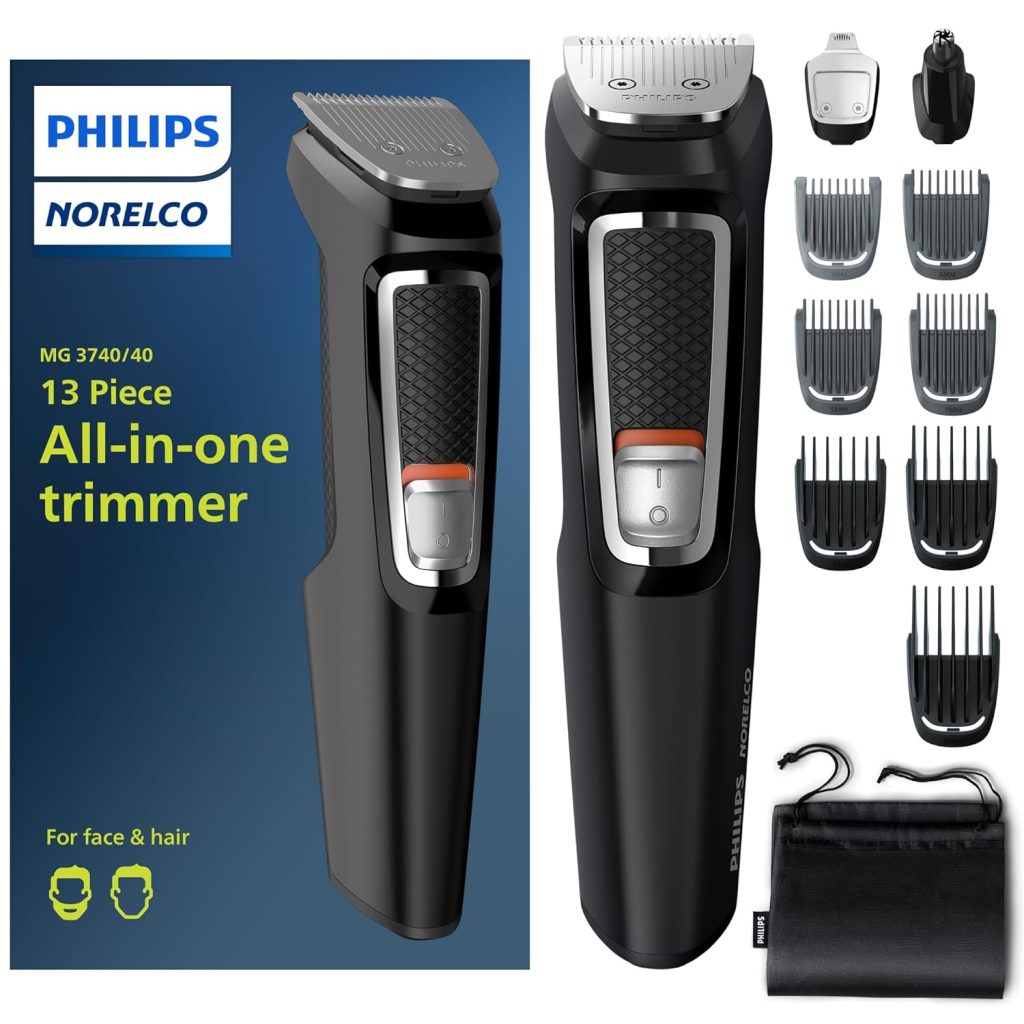
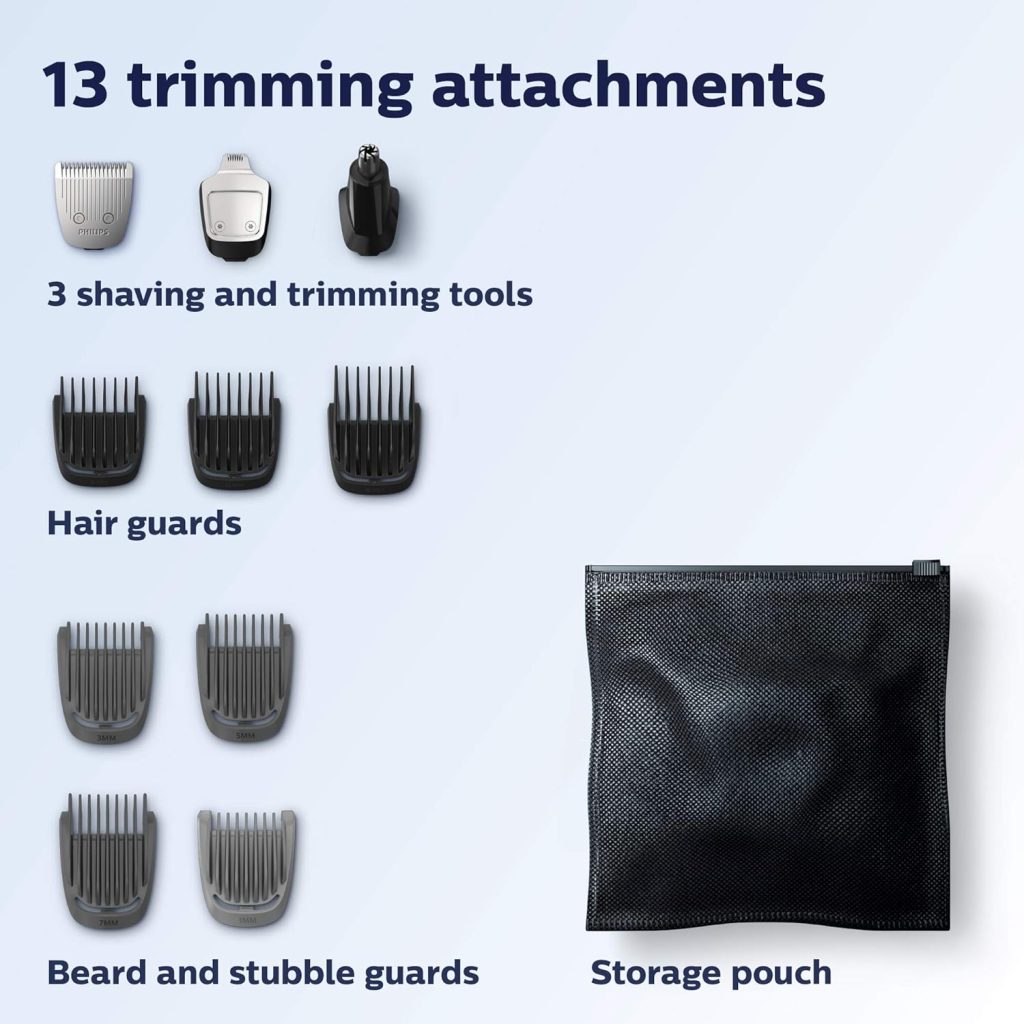
Next, focus on getting your trimmer in prime condition. If it’s rechargeable, ensure it’s fully charged to avoid power issues mid-trim. For trimmers that need batteries, popping in a fresh set can save you from unexpected stops. Cleaning the trimmer blades is also vital. Removing any trapped hairs or residue from previous uses ensures a smooth, snag-free trimming experience. These preparatory steps are not just about hygiene; they significantly influence the quality of your trim, setting the stage for a neat and well-groomed beard.
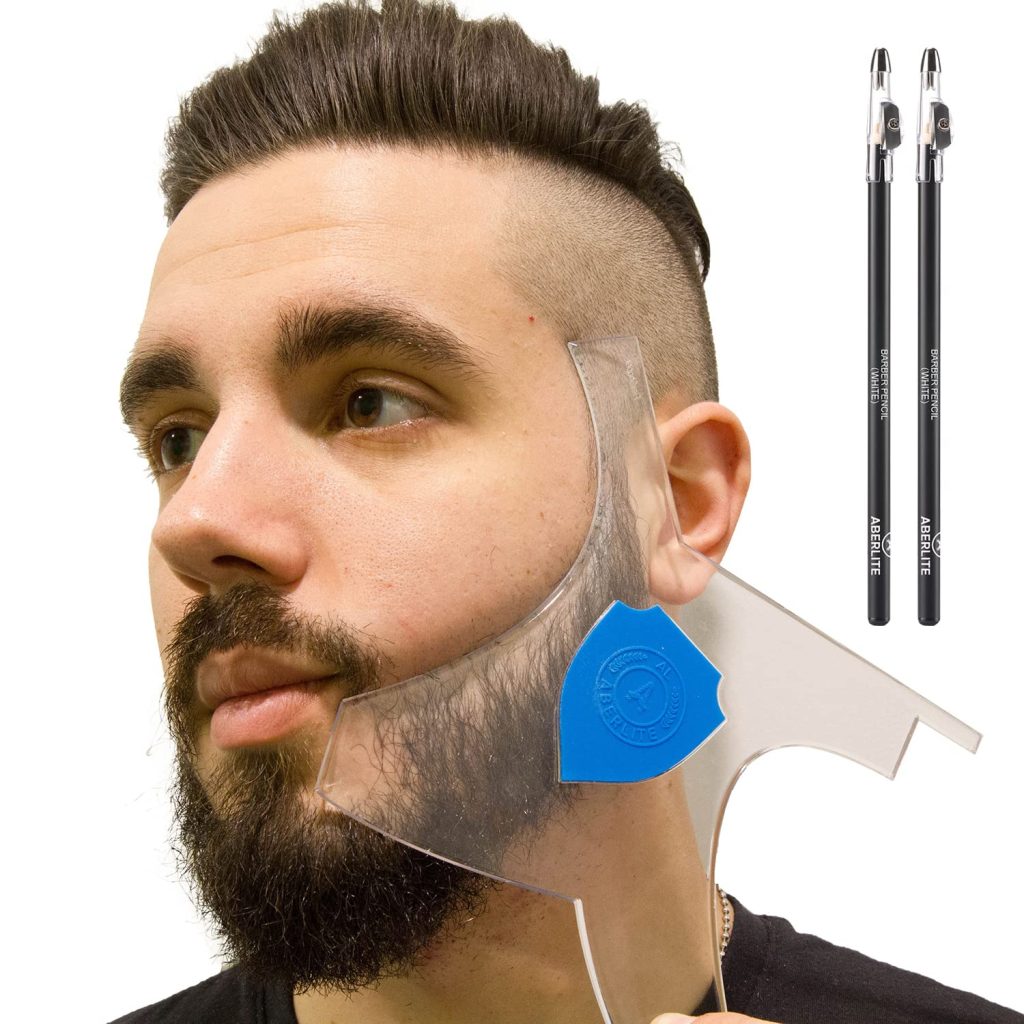
Creating a well-defined outline for your beard is essential for achieving a polished look. Begin by tackling the neckline. Tilt your head upward and locate the point on your neck where your beard grows most densely. This is where your neckline should be. Use your trimmer without a guard to carefully remove the hair below this line, creating a neat boundary.
Next, address the cheek line. Look straight into the mirror and decide on the shape you want for the upper edge of your beard. Some prefer a natural line, while others aim for a more stylized look. Whatever your choice, use the edge of the trimmer to gently shave away stray hairs above your desired line. It’s important to move slowly and check for symmetry on both sides as you go.
These steps are crucial for framing your face and setting the stage for a uniform trim. Remember, this is about enhancing your natural beard shape, so follow the contours of your face closely. Mistakes can be corrected on subsequent trims, so don’t worry if it’s not perfect the first time. The goal is to create clear boundaries that will guide the rest of your trimming process.
With your beard neatly outlined, it’s time to move onto the trimming phase. Begin by choosing the right guard length for your trimmer, reflecting how short you want your beard to be. Attach the guard securely to the trimmer. Starting at your cheeks, trim down towards your jawline, going with the grain of your hair growth. This method helps achieve a more uniform length and reduces the risk of irritation.
Continue by trimming the hair on your neck and chin, still moving in the direction of hair growth. For areas like the mustache, where hairs can be denser or grow in different directions, you might need to adjust the trimming angle or change the guard setting for an even look.
As you trim, periodically comb through the beard to check for uneven spots. If you find any, gently go over these areas with the trimmer until you’ve achieved a consistent length throughout your beard.
In places where your facial hair is thicker, you may need to go over the same spot more than once for a clean cut. However, take care to use light, gentle strokes to avoid cutting too much hair or causing skin irritation.
This step-by-step approach ensures that you trim your beard evenly, maintaining its shape and length according to your personal preference.
Maintenance and Care for Your Trimmer
Maintaining your trimmer is key to its performance and longevity. After each use, take the time to brush off any hair from the blades. This can usually be done with a small brush that often comes with the trimmer. If not, a soft, dry toothbrush will suffice. Next, detach the blades or head of the trimmer if possible. This step is crucial for thorough cleaning.
Rinse the blades or head under warm, running water to remove any lingering hair or debris. If your trimmer is not water-resistant, simply use a damp cloth to wipe down the blades. Be cautious to avoid water entering the trimmer’s motor. After rinsing, let the blades air dry completely on a clean towel. Humidity can be detrimental, so ensure they’re thoroughly dry before reassembly.
Finally, lubricating the blades is a step that should not be overlooked. Apply a few drops of oil specifically designed for trimmers or clippers. This keeps the blades moving smoothly and prevents rust. Turn on the trimmer for a few seconds to distribute the oil evenly. Store your trimmer in a dry place to avoid any potential damage. Regularly performing these maintenance tasks will help keep your trimmer in optimal condition, ready for your next grooming session.
Styling and Finishing Touches
After your beard is neatly trimmed, it’s essential to focus on styling for a complete look. Use a high-quality comb or brush to gently guide your beard hairs into place. This step not only helps in spotting any missed long hairs but also prepares your beard for the application of products. Applying beard oil or balm is next; this not only moisturizes your facial hair but also the skin beneath, preventing dryness and flakes. Work a small amount of the product in your palms and evenly distribute it through your beard, starting from the roots to the tips. For those aiming for a more sculpted appearance, consider using a beard wax for added hold. Experimenting with different products can lead you to discover the perfect combination for your desired look. This final touch ensures your beard not only looks well-groomed but also remains healthy and conditioned.